Home
Home & Gifts
Vinyl Decals
Crochet Accessories
Crochet Patterns
Free Crochet Patterns
Contact
Bramble & Briar
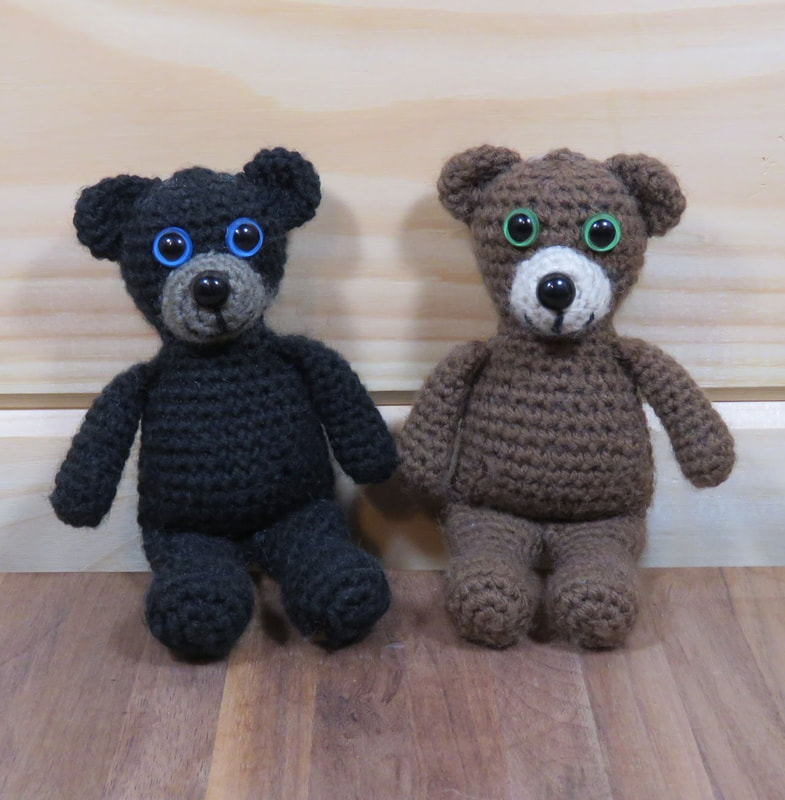
In addition to #
3
weight yarn you will also need 10mm eyes and stuffing.
BRAMBLE & BRIAR PDF
Home
Home & Gifts
Vinyl Decals
Crochet Accessories
Crochet Patterns
Free Crochet Patterns
Contact